Sourdough Troubleshooting: Find Your Problem and Fix It Fast
Every sourdough problem has a cause — and almost every cause has a straightforward fix. This page is your starting point. Find your symptom below, click through to the full guide, and get back to baking.
What’s going wrong? Find it Fast.
| Symptom | Go To: |
| I’m new and not sure where to start | → Start Here |
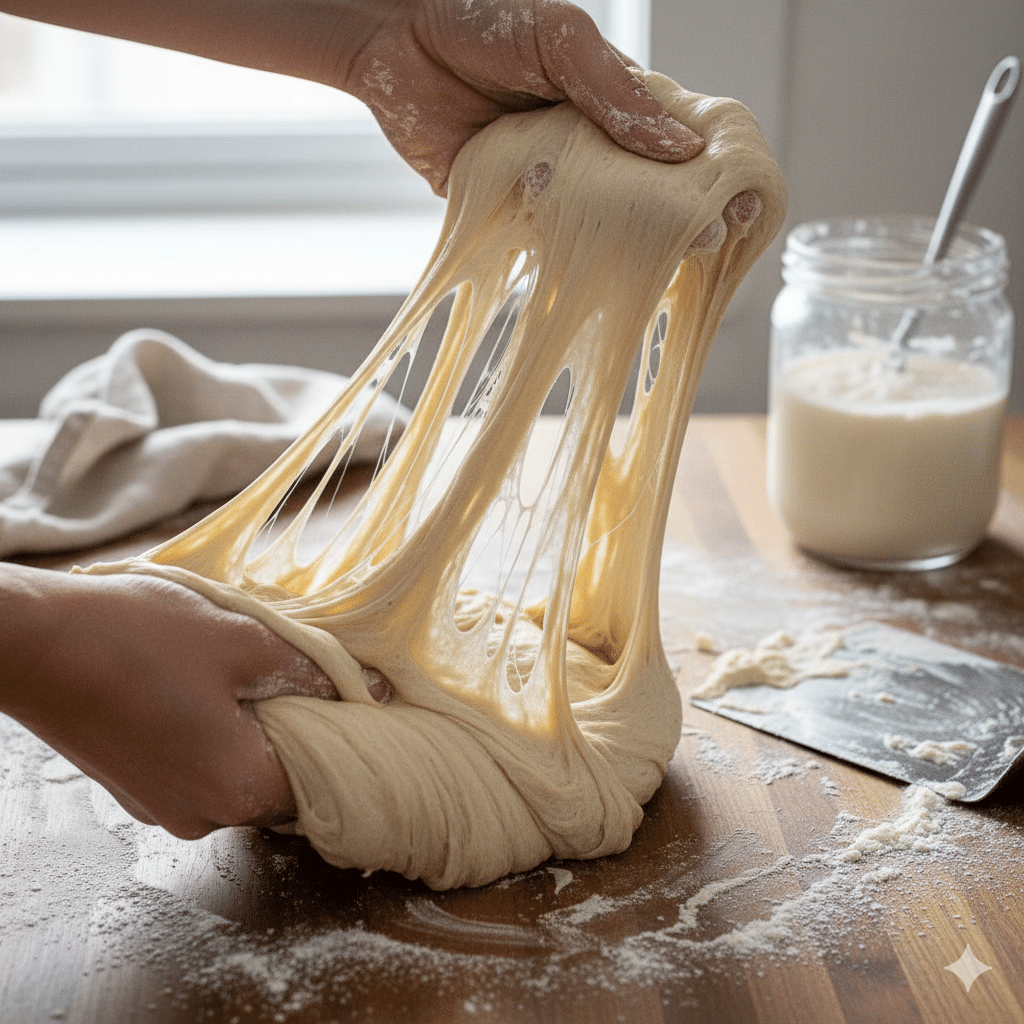
| My dough sticks to everything | → Sourdough Too Sticky |
| My starter won’t rise after feeding | → Sourdough Starter Not Rising |
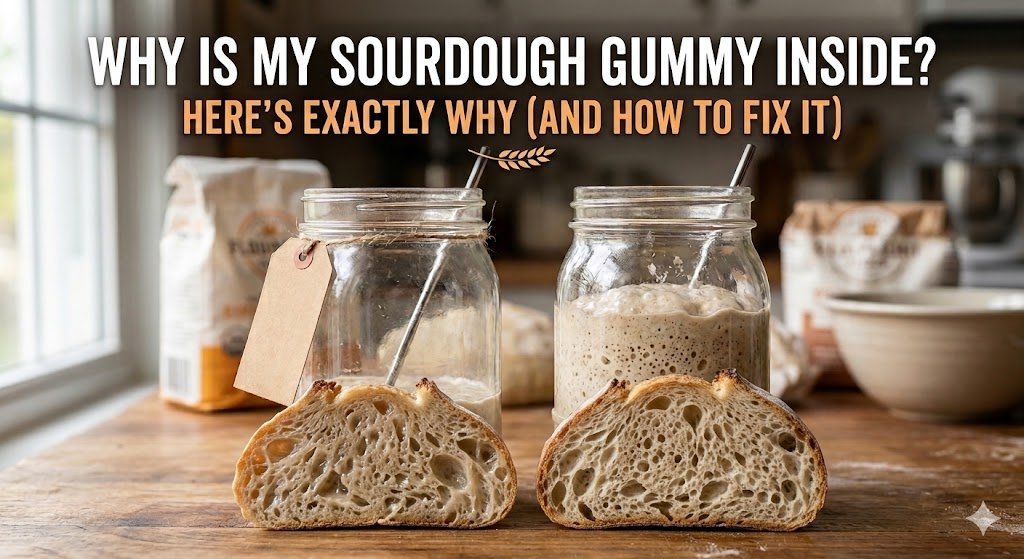
| My loaf came out gummy inside | → Sourdough Gummy Inside |
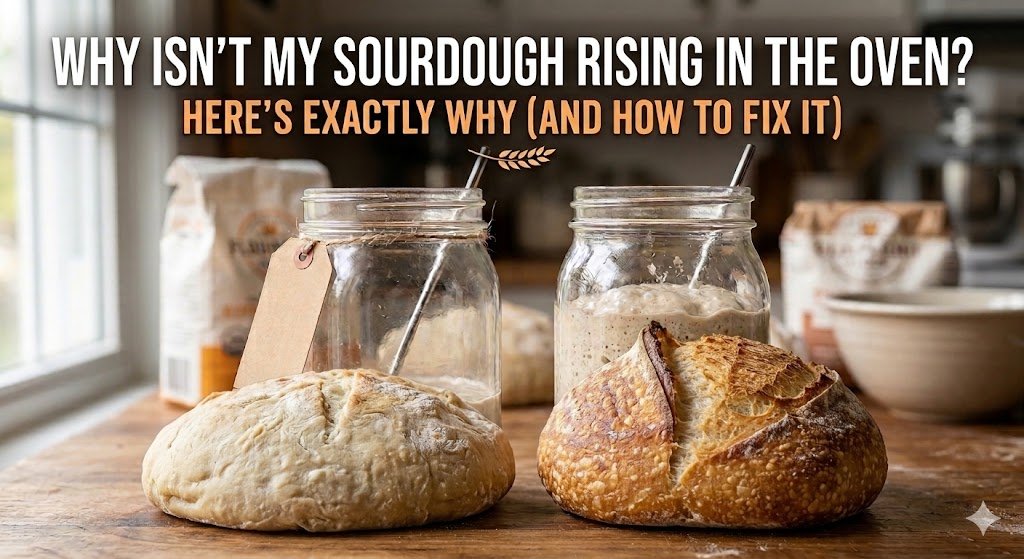
| My loaf didn’t rise in the oven | → No Oven Spring |
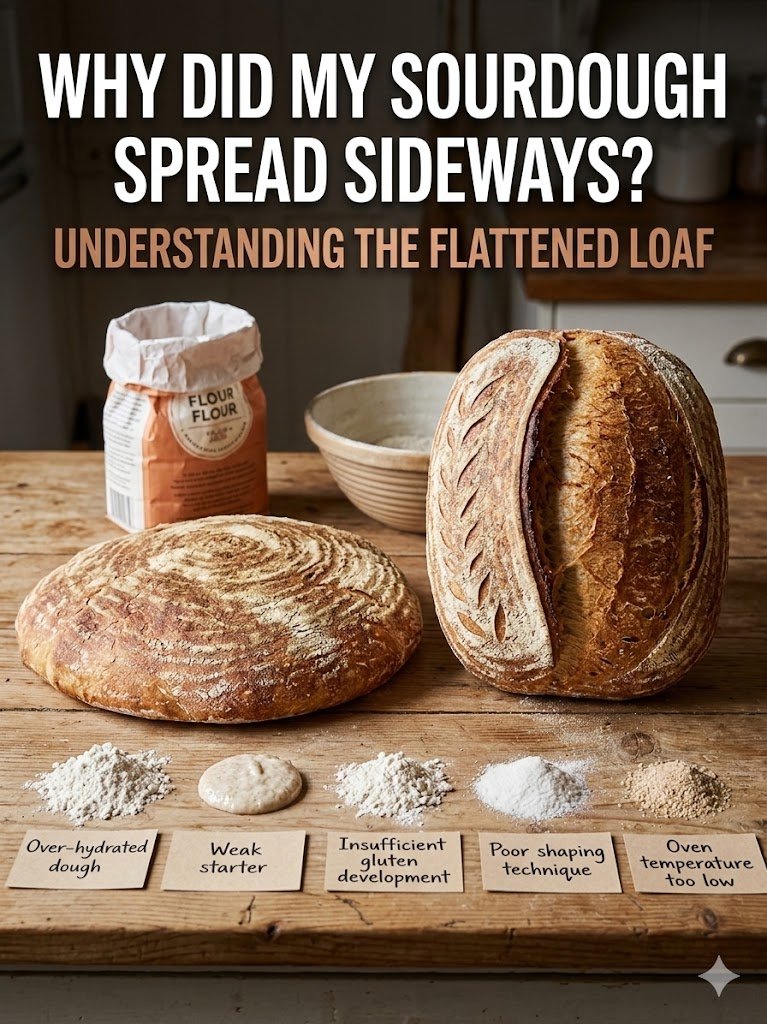
| My loaf spread sideways instead of up | → Sourdough Spread Sideways |
| I’m new and don’t know where to start | → What I Wish I Knew |
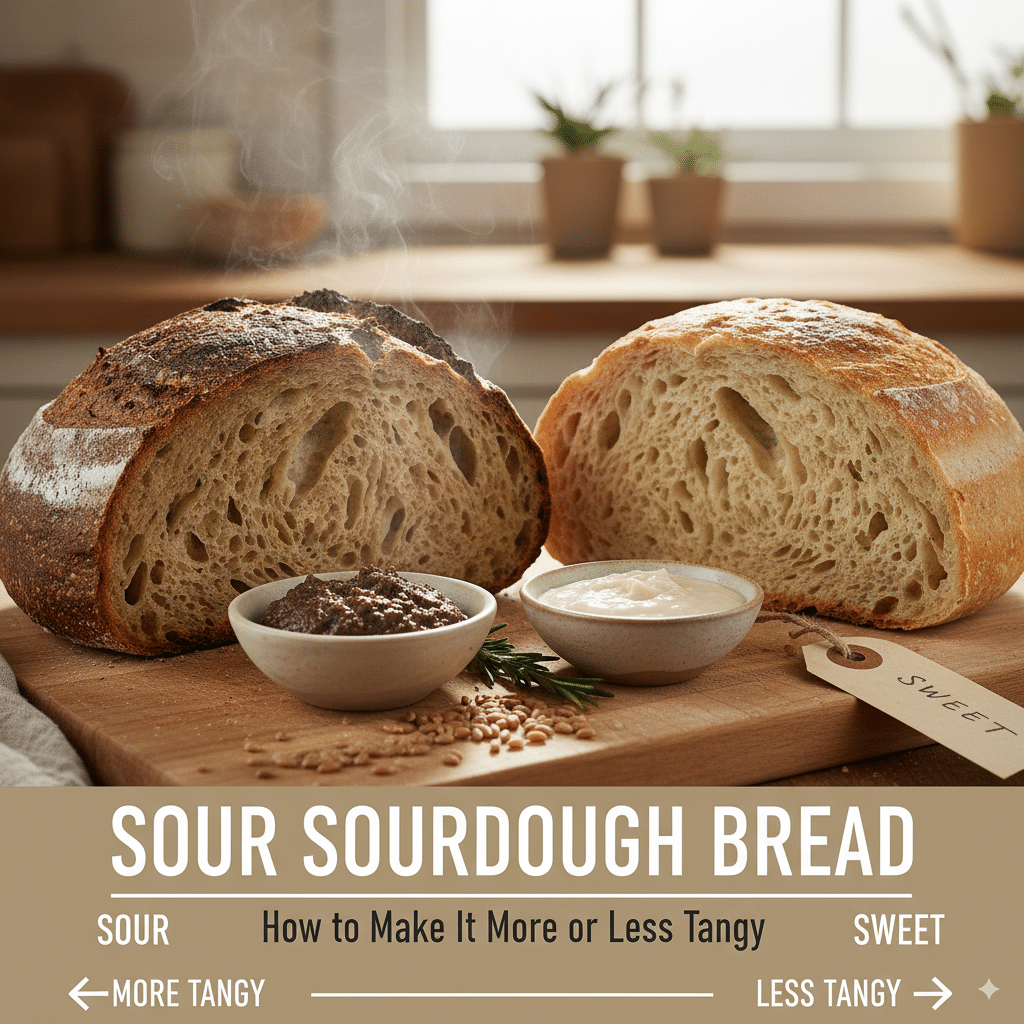
| My sourdough tastes too sour or not sour enough | → Sour Sourdough Guide |
| My dough is too wet/slack | → Sourdough Hydration Guide |
| My starter seems dead or won’t activate | → Sourdough Starter Not Rising |
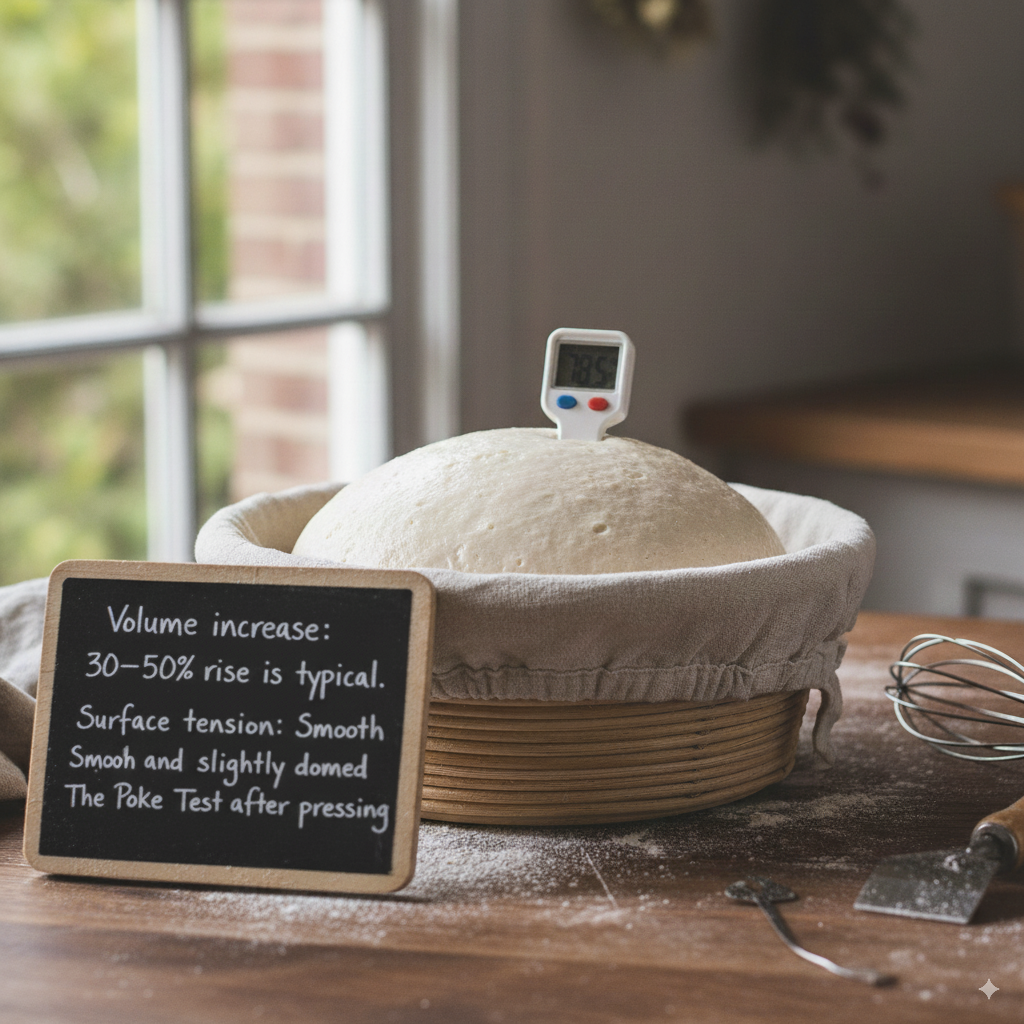
| I don’t know if my dough is ready to bake | → Learn the poke test |
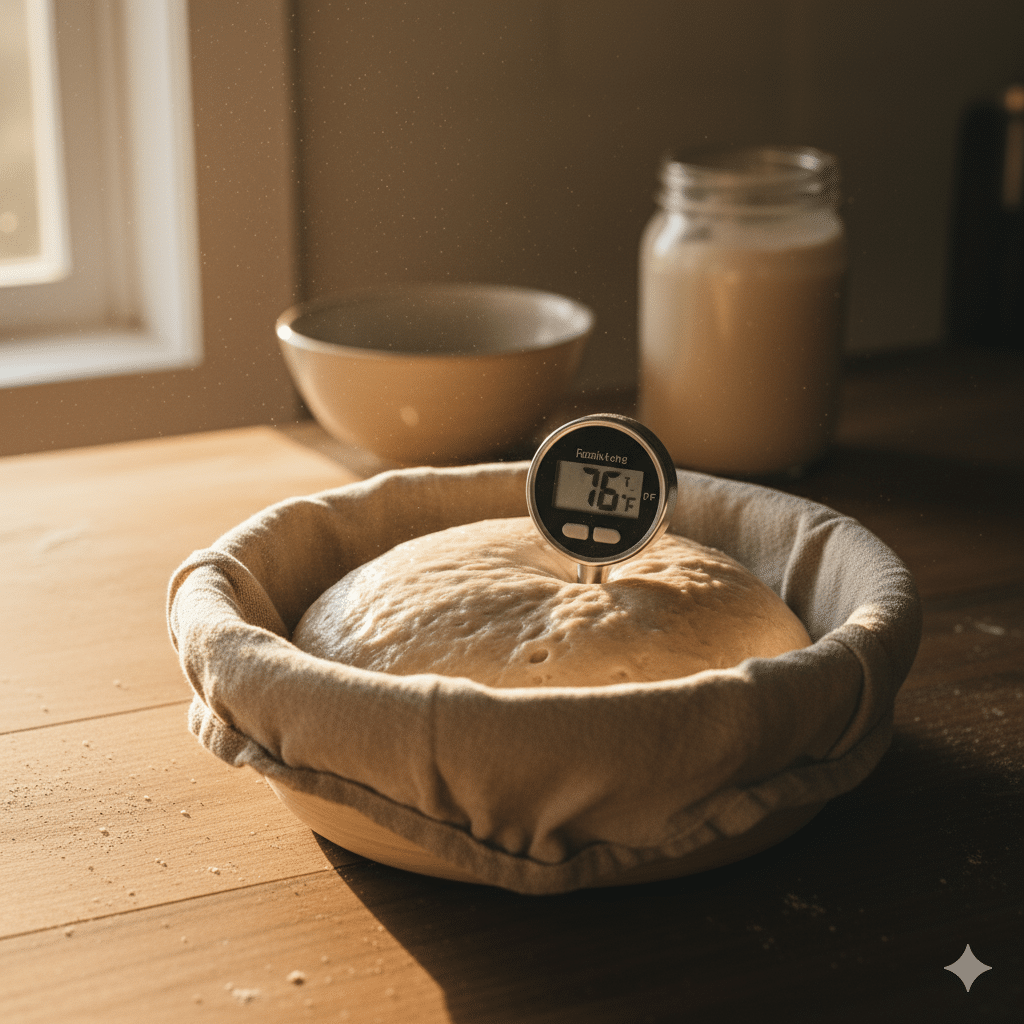
| My results are inconsistent – sometimes great, sometimes not | → Check Your Temperature |
SourdoughStart
Sourdough Troubleshooting
Engine
Select your symptom. Get the cause. Fix the bake.
Loaf Problem
Flat Loaf
Starter, fermentation, or oven issue
Most Likely Cause
Inactive starter, under-fermented dough, or insufficient oven heat. Without an active yeast colony producing CO₂, there’s no gas to create rise.
How to Fix It
- Use starter at peak — 4–8 hours after feeding, visibly bubbly, domed, and passes the float test.
- Bulk ferment until dough has risen 50–75% and the surface shows bubbles and a domed top.
- Preheat oven and Dutch oven together for a full 45–60 minutes at 230–250°C / 450–480°F.
- Score at least ½ inch deep at a 45° angle — a shallow score won’t allow oven spring.
- Verify your oven runs true with an oven thermometer; many ovens run 10–20°C cool.
Loaf Problem
Spreading Loaf
Overproofed or gluten structure too weak
Most Likely Cause
Over-fermentation degrades gluten, so it can’t hold the loaf’s shape. Poor shaping tension and high hydration without sufficient gluten development also cause spreading.
How to Fix It
- Use the poke test before baking — properly proofed dough springs back slowly. No spring? Overproofed.
- Do 4–6 sets of stretch & folds during bulk, spaced 30 minutes apart, to strengthen gluten.
- Create surface tension when shaping: drag the boule on the bench with cupped hands to tighten the skin.
- Bake cold dough straight from the fridge — firmer dough holds shape better in the first oven minutes.
- Shorten bulk by 30–60 minutes, especially in warm kitchens above 24°C / 75°F.
Loaf Problem
Burnt Crust, Raw Centre
Oven too hot or lid removed too early
Most Likely Cause
The outside is browning faster than heat can penetrate to the centre — typically from too high a temperature after lid removal or insufficient steam in the covered phase.
How to Fix It
- Bake covered (lid on) for the first 20 minutes — steam prevents premature browning and keeps crust elastic.
- After lid removal, lower temp by 10–15°C / 20–25°F to let heat penetrate without burning the crust.
- Use an instant-read thermometer — the interior should reach 96–98°C / 205–208°F when fully baked.
- For very high-hydration doughs (above 75%), extend covered bake time to 25 minutes.
- Tent loosely with foil in the final 10 minutes if the crust is already dark.
Loaf Problem
Pale, Soft Crust
Insufficient dry heat at the end of the bake
Most Likely Cause
The Maillard reaction that creates a deep, crackling crust requires high, dry heat. If the lid stays on too long, or the oven runs cool, the crust never browns properly.
How to Fix It
- Always remove the Dutch oven lid for the final 20–25 minutes of baking.
- If still pale, raise oven temp by 10°C / 20°F for the uncovered phase.
- Use an oven thermometer — many ovens run 15–20°C cool, which prevents browning.
- Leave the baked loaf in the turned-off oven with the door ajar for 10 extra minutes.
- Never cover a loaf while it cools — trapped steam will soften the crust immediately.
Loaf Problem
Crust Shatters After Cooling
Rapid moisture release post-bake
Most Likely Cause
Gentle crackling as a loaf cools is completely normal and desirable. Aggressive shattering or large chunks falling off means the crust is too thick and rigid — steam inside is forcing its way out.
How to Fix It
- A loaf that crackles musically as it cools is a sign of a well-baked crust — embrace it.
- Cool on a wire rack for at least 1–2 hours so moisture redistributes evenly from the inside out.
- If chunks are shearing off, reduce uncovered bake temperature by 10°C / 18°F.
- Ensure adequate steam in the first phase (lid on tightly) so the crust is elastic, not brittle.
- Avoid placing a hot loaf directly on a cold surface — the temperature shock can fracture the crust.
Loaf Problem
Score Blew Out / Side Burst
Improper scoring or underproofed dough
Most Likely Cause
Excess gas pressure found the weakest point in the dough rather than your score. Usually caused by a shallow or hesitant cut, a dull blade, or underproofed dough with too much internal tension.
How to Fix It
- Score with one swift, confident movement at a 45° angle, ½ inch deep — hesitation drags and tears.
- Use a sharp lame or razor blade; a dull blade won’t cut cleanly and deflects pressure sideways.
- Score cold dough straight from the fridge — it’s firmer, holds shape better, and scores more cleanly.
- Make the score long enough to channel the full expansion (at least 2/3 the length of the loaf).
- If consistently underproofing, extend bulk or final proof by 30–45 minutes in your next bake.
Crumb Problem
Dense or Gummy Crumb
Under-fermented or sliced too soon
Most Likely Cause
Under-fermentation leaves insufficient CO₂ for an open crumb. Cutting into the loaf while it’s still hot also causes gumminess as the starch hasn’t fully set.
How to Fix It
- Wait at least 1–2 hours after baking before slicing — the crumb continues setting as steam disperses.
- Extend bulk ferment until dough has risen 50–75% with visible bubbles on the surface and sides.
- Increase hydration slightly to 68–75% — stiffer doughs tend to have a tighter, denser crumb.
- Develop gluten through stretch & folds; better gluten holds more gas and creates a more open structure.
- Confirm your starter was truly at peak activity — a sluggish starter means less gas production overall.
Crumb Problem
Large Irregular Holes
Uneven degassing or overproofed dough
Most Likely Cause
Large pockets form when air is trapped unevenly during shaping, or when overproofed dough has unpredictable gas distribution. Very slack, high-hydration doughs are especially prone to this.
How to Fix It
- During pre-shaping, apply gentle, even pressure across the whole surface to redistribute gas uniformly.
- Allow a proper bench rest of 20–30 minutes between pre-shape and final shape for gluten to relax.
- Eliminate large air pockets during final shaping by working the dough more deliberately.
- Check proof time — if the dough is overproofed, reduce bulk or proof time in your next bake.
- Reducing hydration by 3–5% can make the dough easier to shape consistently and evenly.
Crumb Problem
Wet or Sticky Crumb
Underbaked or cut while still hot
Most Likely Cause
The loaf was sliced before internal steam had time to disperse and starch had time to set. Can also result from an underbaked loaf where gelatinisation is incomplete.
How to Fix It
- Resist cutting for at least 1–2 hours post-bake; 3–4 hours is ideal for high-hydration loaves.
- Check internal temperature reaches 96–98°C / 205–208°F before pulling from the oven.
- After removing the lid, bake a full 20–25 minutes more — this dry heat sets the crumb.
- Cool on a wire rack (not on a solid surface) so steam can also escape from the bottom.
Crumb Problem
Tough or Rubbery Crumb
Over-developed gluten or wrong flour
Most Likely Cause
Excessively tight gluten from too many stretch & folds, very high-protein flour, or dough that’s been overworked during shaping. Over-fermentation can also result in a chewy, degraded texture.
How to Fix It
- Cap stretch & folds at 4–5 sets spaced 30 minutes apart — more isn’t always better.
- Blend bread flour with all-purpose (80/20) to reduce total protein content and soften the crumb.
- Handle the dough gently during final shaping — over-tight shaping creates a rubber-band effect.
- Check fermentation timing — degraded gluten from overproofing leads to dense, tough crumb.
- A small addition of whole wheat (10–15%) can actually soften the crumb by interrupting long gluten strands.
Dough Problem
Too Sticky to Handle
Hydration, temperature, or underdeveloped gluten
Most Likely Cause
High hydration dough that hasn’t had sufficient gluten development, or dough that’s warmed up too much during bulk. Warm dough loses structure and becomes impossible to handle.
How to Fix It
- Refrigerate dough for 20–30 minutes before shaping — cold dough is dramatically more manageable.
- Use damp hands or a lightly wet bench scraper, not flour — adding flour disrupts your hydration ratio.
- Increase stretch & fold sets during bulk to build gluten strength that holds moisture better.
- A bench scraper is essential for high-hydration doughs; use it to fold and move the dough without sticking.
- For your next bake, reduce starting hydration by 5% and build up as your technique improves.
Dough Problem
Dough Overproofed
Fermentation went too far
Most Likely Cause
Dough fermented too long or at too warm a temperature. Gluten degrades, gas partially escapes, and the dough may smell sharply sour or alcoholic. Structure collapses under its own weight.
How to Fix It
- If slightly overproofed, bake immediately — don’t discard. It may be flat but still edible.
- The poke test: dough should slowly spring back halfway. No spring back at all = overproofed.
- For future bakes, reduce bulk time by 30–60 minutes and monitor visually using a marked container.
- Ferment at 18–20°C / 65–68°F for more control — cooler temps slow yeast activity noticeably.
- Mark the side of your container with tape to track the 50–75% volume increase target.
Dough Problem
Stiff and Hard to Work
Low hydration or tight gluten
Most Likely Cause
Low hydration creates a tight, resistant dough. Gluten that’s just been folded or shaped is also tense and needs time to relax before it becomes extensible again.
How to Fix It
- After pre-shaping, bench rest 20–40 minutes before final shape — gluten relaxes and becomes pliable.
- Increase hydration by 5% in your next bake to improve extensibility and workability.
- Use lukewarm water (24–26°C / 75–80°F) when mixing — cold water inhibits gluten development.
- Try autolyse: mix flour and water, rest 30–60 minutes before adding starter. This transforms dough extensibility.
- Don’t try to force stiff dough — rest it more and let gluten do the work for you.
Dough Problem
Tears When Shaping
Gluten too tight or skipped bench rest
Most Likely Cause
Gluten is over-tensioned — usually when shaping begins too soon after pre-shaping, or after aggressive folding. The gluten strands have no elasticity left and simply snap.
How to Fix It
- Always bench rest 20–40 minutes after pre-shaping. If the dough still tears, rest it longer — up to an hour.
- Work gently — sourdough responds better to coaxing than force.
- Increase hydration slightly for a more extensible dough that stretches without breaking.
- Autolyse at the start of your next bake to pre-develop gluten extensibility before any folding begins.
- When adding mix-ins (seeds, olives, herbs), fold them gently in layers to avoid tearing gluten strands.
Starter Problem
Not Active or Bubbly
Needs consistent feeding to revive
Most Likely Cause
Infrequent feeding, chlorinated tap water, a too-cool environment, or a young starter that hasn’t yet established a strong microbial community.
How to Fix It
- Feed twice daily at room temperature (24–26°C / 75–78°F) for 3–5 days consistently.
- Use filtered or bottled water at room temperature — chlorine in tap water suppresses yeast and bacteria.
- Discard all but 20–30g of starter before each feeding to concentrate the microbial culture.
- Use a 1:1:1 ratio (starter:flour:water by weight) — equal parts gives the microbes plenty to eat.
- Add 10–20% whole rye or wholewheat flour to the feeding mix to introduce more wild yeast and bacteria.
- Be patient with young starters — it can take 7–14 days to establish a reliable culture.
Starter Problem
Alcoholic or Vinegary Smell
Hungry starter — over-ripened
Most Likely Cause
The starter has gone past its peak and consumed all available sugars. It’s now producing acetic acid (vinegar) or ethanol. You may also see grey or brown liquid (hooch) pooled on top.
How to Fix It
- Pour off any hooch (grey/brown liquid) or stir it back in, then feed immediately.
- Feed at a higher ratio: 1:2:2 (starter:flour:water) to dilute acidity and give the culture more to work with.
- Switch to twice-daily feedings at room temperature until the smell becomes pleasantly tangy-yoghurt.
- A mild sour smell is completely normal — a sharp acetone or nail-varnish smell means it needs feeding urgently.
- To prevent this: refrigerate your starter and pull it out 1–2 days before baking to reactivate.
Starter Problem
Won’t Double in Size
Temperature, flour, or yeast population too low
Most Likely Cause
Too cold to ferment vigorously, insufficient wild yeast population, or flour that lacks nutrients (bleached or heavily refined flour starves the microbes).
How to Fix It
- Find a warm spot: 24–28°C / 75–82°F is the sweet spot for starter activity — top of the fridge, near the oven.
- Switch to unbleached bread flour, or blend in 20% whole rye or wholewheat which carries more wild yeast.
- Do the float test: drop a teaspoon into water — a healthy starter should float.
- Feed twice daily for 5–7 days consistently to build up the yeast population before baking.
- Always measure by weight, not volume — ratios by volume are inaccurate and can starve the culture.
Starter Problem
Pink, Orange, or Fuzzy Growth
Contamination — discard and start fresh
Most Likely Cause
Pink or orange streaks and fuzzy mould indicate bacterial or fungal contamination — not beneficial organisms. This starter should not be baked with and cannot be rescued through feeding.
How to Fix It
- Discard the entire starter immediately. Pink or orange colouring (Serratia marcescens) is a health risk.
- Thoroughly wash and sterilise the jar before starting a new culture.
- Note: grey or dark liquid on top is just hooch (acetic acid) — that’s normal and not contamination.
- To prevent contamination: always use a clean spoon, never leave the jar open for long, and use clean water.
- Start fresh with unbleached flour, filtered water, and a clean environment.
Flavour Problem
Bland or Flavourless
Insufficient fermentation time or too-fresh starter
Most Likely Cause
Fast, warm ferments produce very little organic acid — the source of sourdough flavour. Complexity requires time. Long, cool fermentation allows lactic and acetic acids to develop fully.
How to Fix It
- Use a cold retard: shape the dough, then refrigerate overnight (8–16 hours) before baking. This one step transforms flavour.
- Extend bulk fermentation time by 1–2 hours for more acid development.
- Use a lower percentage of starter (10–15%) to slow fermentation and give more time for flavour compounds to build.
- Use a more mature, sour starter rather than one fed very recently — older starter contributes existing acids.
- Add 10–15% whole wheat or rye flour for earthier, more complex flavour notes.
Flavour Problem
Sharply Sour
Too much acetic acid development
Most Likely Cause
Cool, slow fermentation and long cold retards favour acetic acid (sharp, vinegary). Over-fermentation or using a very ripe, sour starter also concentrate sourness in the final loaf.
How to Fix It
- Ferment at a warmer temperature (25–28°C / 77–82°F) — warm conditions favour milder lactic acid over sharp acetic acid.
- Shorten or skip the cold retard — overnight fridge proofing significantly increases sourness.
- Use a fresher starter: feed it 2–4 hours before use so it’s active and yeasty, not over-ripened and acidic.
- Increase starter percentage to 20% to shorten overall ferment time and reduce acid accumulation.
- Reduce whole wheat/rye content, as high-bran flours contribute to greater acidity.
Flavour Problem
Bitter or Chemical Taste
Over-fermented or contaminated starter
Most Likely Cause
Severely over-fermented dough (protein breakdown produces bitter compounds), crust over-caramelised at too-high temperature, or a contaminated starter — especially if the taste has a chemical edge.
How to Fix It
- Check your starter for pink or orange streaks — any unusual colour means discard and start fresh.
- Significantly shorten bulk fermentation — bitter flavour from protein degradation is a sign of over-ferment.
- Reduce oven temperature for the uncovered phase to prevent crust over-caramelisation.
- Switch to filtered water and unbleached flour to eliminate chemical interference from chlorine or bleach.
- Normal grey hooch is not contamination — only fuzzy mould or bright colour is cause for concern.
Flavour Problem
Yeasty or Beer-Like Taste
Fermentation too fast or too warm
Most Likely Cause
Over-active yeast with insufficient acid bacteria activity. This happens when fermentation is fast and warm — the yeast outpaces the bacteria, and alcohol-forward notes dominate the flavour profile.
How to Fix It
- Reduce starter quantity to 10–12% to slow yeast activity and allow bacteria more time to produce lactic acid.
- Ferment cooler — 18–22°C / 65–72°F slows yeast more than bacteria, restoring the balance.
- Extend bulk fermentation time (even if at a cooler temp) to let bacteria catch up.
- Introduce a cold retard overnight — fridge proofing suppresses yeast while bacteria keep working, adding depth.
- Use a starter that’s slightly past peak (domed and beginning to recede) rather than at maximum rise.